Adding applications
Applications can be added to Tackle by creating new applications from scratch manually or by importing them.
 Tackle applications are defined by manually entered and pre-defined attributes:
- Name (manual)
- Description (manual)
- Business service (pre-defined)
- Tags (pre-defined)
- Source code
- Binary
Creating a new application
Follow the steps below to add a new application to the inventory for assessment and analysis.
Note: Before starting this procedure, it is helpful to set up business services, check tags and tag types, and create additions as needed.
Procedure
- Click Application inventory in the left menu of the Developer view.
- Click the Create new button.
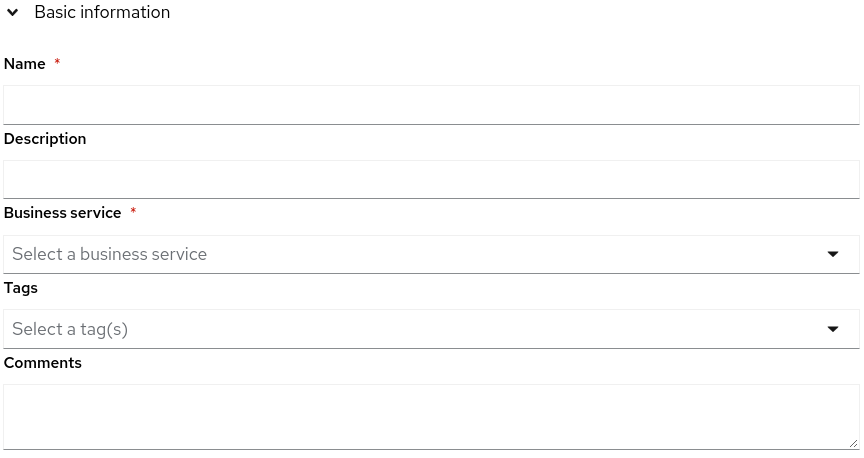
- Enter the following information:
- Name
- Description
- Business service
- Tags
- Comments
- Click the arrow to the right of Source Code to expand the section.
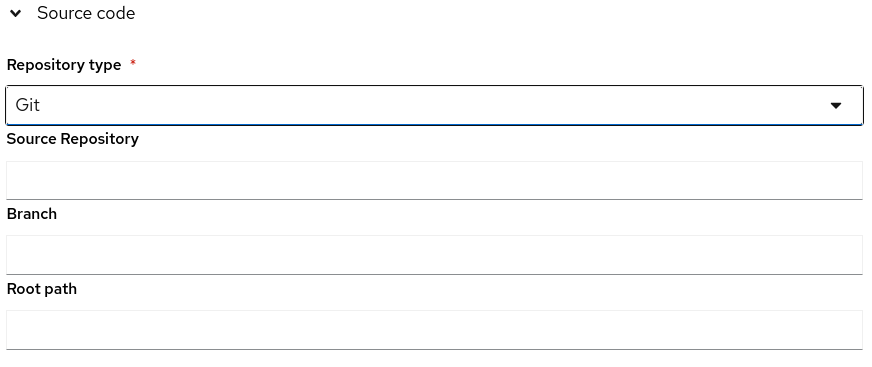
- Enter the following information:
- Repository type
- Source Repository
- Branch
- Root path
- Click the down arrow to the right of Binary to expand the section.
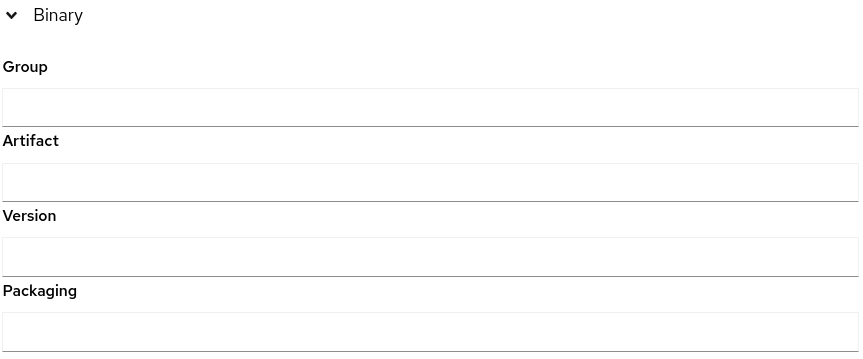
- Enter the following information:
- Group
- Artifact
- Version
- Packaging
- Click the Create button.
Assigning application credentials
Follow the steps below to assign credentials to one or more applications.
Procedure
- Click Application inventory in the left menu of the Developer view.
- Click the Analysis tab.
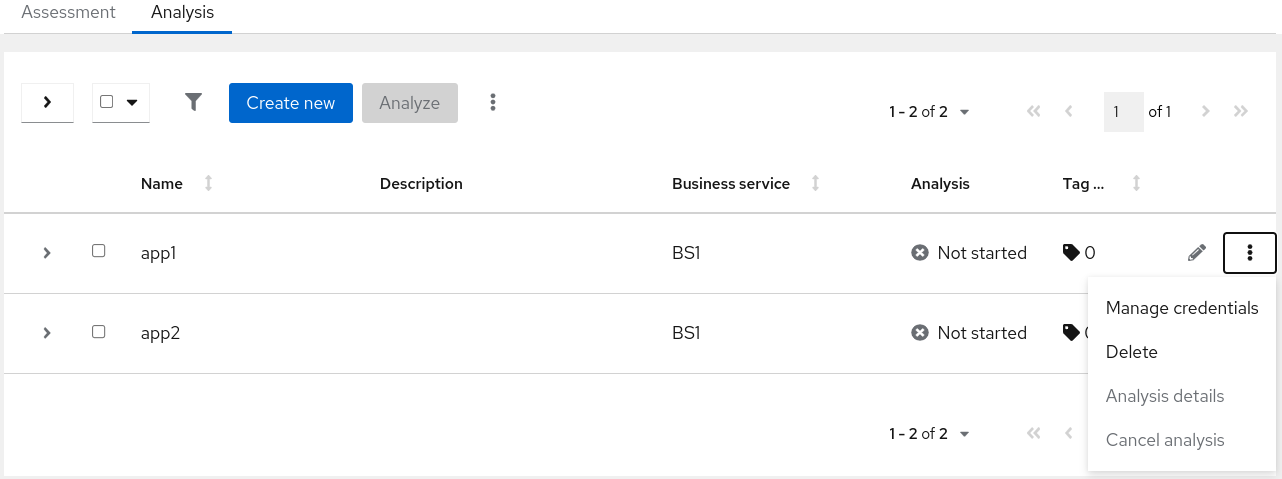
- Click the menu kebab to the right of the Review button and select Manage credentials.
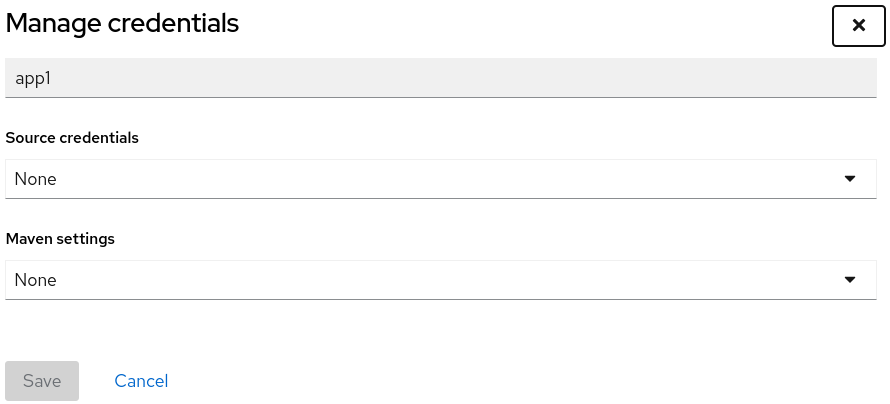
- Select the credential from the Source credentials or Maven setting drop-down list.
- Click the Save button.
Importing application lists
Tackle allows users to import a spreadsheet of existing applications instead of entering them manually. A recommended sample CSV template has been made available to users to fill in with the required information.
Downloading the application list CSV template.
Follow the steps below to download the sample CSV template.
Procedure
- Click Application inventory in the left menu of the Developer view.
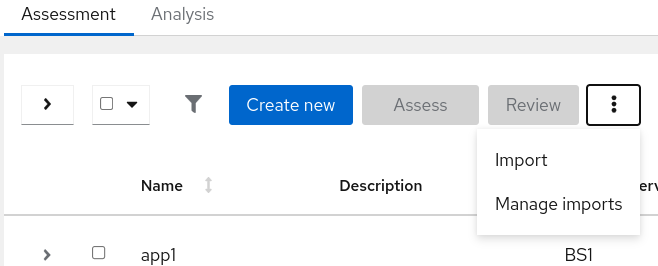
- Click the menu kebab button to the right of the Review button.
- Click Manage imports to open the Application imports page.
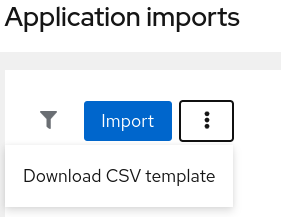
- Click the kebab menu to the right of the Import button and click Download CSV template.
Importing an application list
Follow the steps below to import a .csv file provided by the customer containing a list of applications and their attributes. Importing can be performed by using the Import or Manage import functions, but using the steps below is recommended for verifying the import was successful.
Note: Importing will only add applications, it will not overwrite any existing ones.
Procedure
- Review the import file for all the required information in the required format.
- Click Application inventory in the left menu of the Developer view.
- Click the menu kebab button to the right of the Review button.
- Click the Import button.

- Browse to the file and click the Import button.
- Verify the import has completed and check the number of rows accepted or rejected.
- Review the imported applications by clicking the arrow to the left of the check box to expand.
Important: Rows accepted may not match the number of applications in the Application inventory list because some rows are dependencies. To verify, check the record type column of the CSV file for applications defined as 1 and dependencies as 2.